This is default featured post 1 title
Go to Blogger edit html and find these sentences.Now replace these sentences with your own descriptions.This theme is Bloggerized by Lasantha Bandara - Premiumbloggertemplates.com.
This is default featured post 2 title
Go to Blogger edit html and find these sentences.Now replace these sentences with your own descriptions.This theme is Bloggerized by Lasantha Bandara - Premiumbloggertemplates.com.
This is default featured post 3 title
Go to Blogger edit html and find these sentences.Now replace these sentences with your own descriptions.This theme is Bloggerized by Lasantha Bandara - Premiumbloggertemplates.com.
This is default featured post 4 title
Go to Blogger edit html and find these sentences.Now replace these sentences with your own descriptions.This theme is Bloggerized by Lasantha Bandara - Premiumbloggertemplates.com.
This is default featured post 5 title
Go to Blogger edit html and find these sentences.Now replace these sentences with your own descriptions.This theme is Bloggerized by Lasantha Bandara - Premiumbloggertemplates.com.
Wednesday, June 29, 2011
Red Shirt Re-Do
Monday, January 10, 2011
Project Re-Style # 2
![]() |
| Kind of my inspiration |
Tutorial
![]() |
| Take an old Hoodie, this one the zipper was broken. |
| Cut off the sleeves. |
| Cut off the bottom band. |
| Cut the Zipper off both ends of the bottom band. |
| Cut the Zipper off the front of Hoodie |
![]() |
| Hem edge of the bottom band. |
| Measure where I have marked with a dotted line, for the fur. |
| Cut the fur about 4 to 5 inches wide, one long strip the length you measured for the above photo. |
![]() | |
| Pin the fur, RIGHT SIDES TOGETHER, to the edge of the vest, where you cut the zipper off, all the way around the hood and back down to the other side. As Marked. |
![]() |
| I pulled out this tie (as marked above), because I wanted to reinsert it when I was done, and I did not want to accidentally sew it into the fur. |
![]() |
| Sew along the edge All the way around, as marked. Take your time this furry stuff was just a little harder to deal with. |
![]() |
| Fold the fur back over to the inside of the garment and pin all the way around. Then sew where the white dotted line is. |
Be careful around the hood not to sew shut the space where the tie goes, if you want to reinsert it.
| Place the bottom band right sides together back on the bottom of the garment, Pin and sew where it is marked. |
![]() |
| Grab a big safety pin, Pin it to the tie and reinsert it back into the hood( if you want to, not necessary) I did. |

All done !
You can iron the seam at the bottom band, to make it lie flat.
If you have any questions, please email me.
2 down 50 to go
I am going to try and do one every Monday.
Have a Great Day Everyone.
Saturday, January 8, 2011
A Mini Re-style
Easy, Peasy Scarf.
This mini Re-Style is a necklace made out of one of the sleeves of something that I am Re-styling. I really liked how it turned out. The color version is not good because the article of clothing that I used is red, and RED just did not look good on film. It was too much of a good color screaming at me . I converted the color to black and white. The material is sweatshirt, and it does not stretch like the tee shirt material, but I stretched it a little anyway to make it look worn. I made one out of a tee shirt sleeve as well. Lets give this necklace a name shall we. Lets call this necklace the Stringy Necklace. Ok, here are the instructions.
Have fun..
![]() |
| Cut your sleeve |
![]() |
| Find the seam and cut towards it.. This will make the seam the back of the necklace. |
![]() |
| Like so |
![]() |
| Stretch out your pieces and your done. |
![]() |
| Here is the tee shirt one. Two different looks. |
Wednesday, January 5, 2011
Another Vest?
Tuesday, January 4, 2011
Zippers
![]() | |
| Before |
![]() |
| After |
![]() |
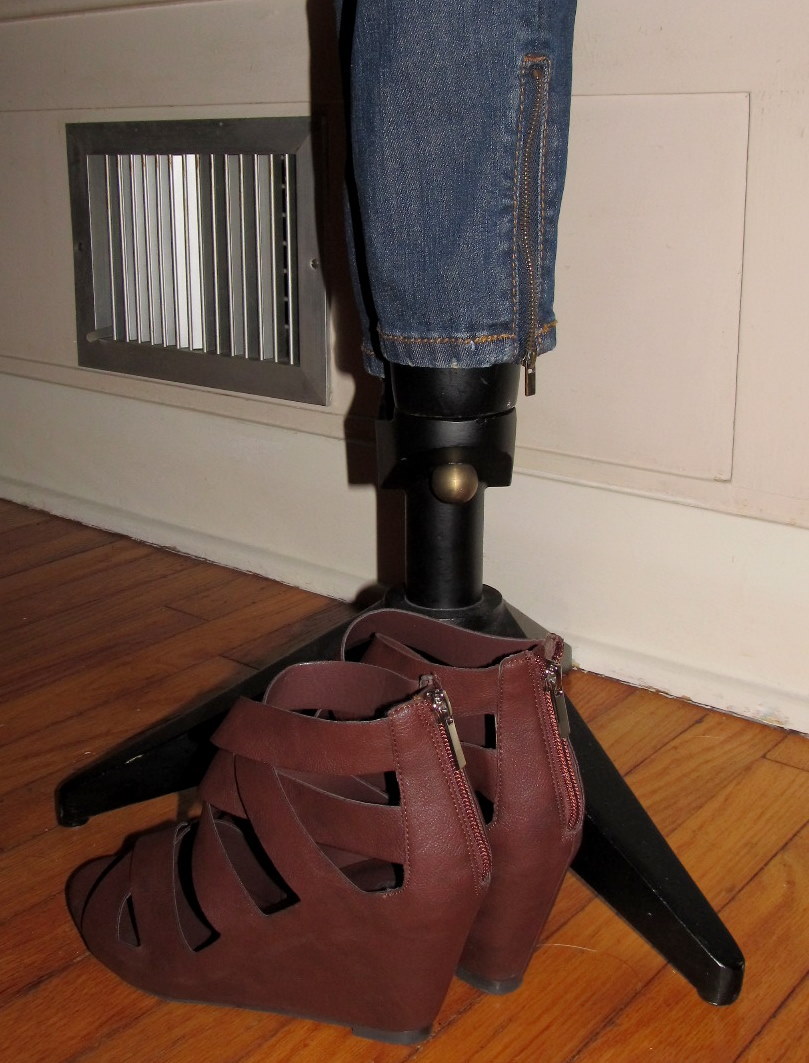
| Shoes from Target |
![]() |
| Zippers! I had some Guess jeans just like this in the 9th Grade. |
![]() |
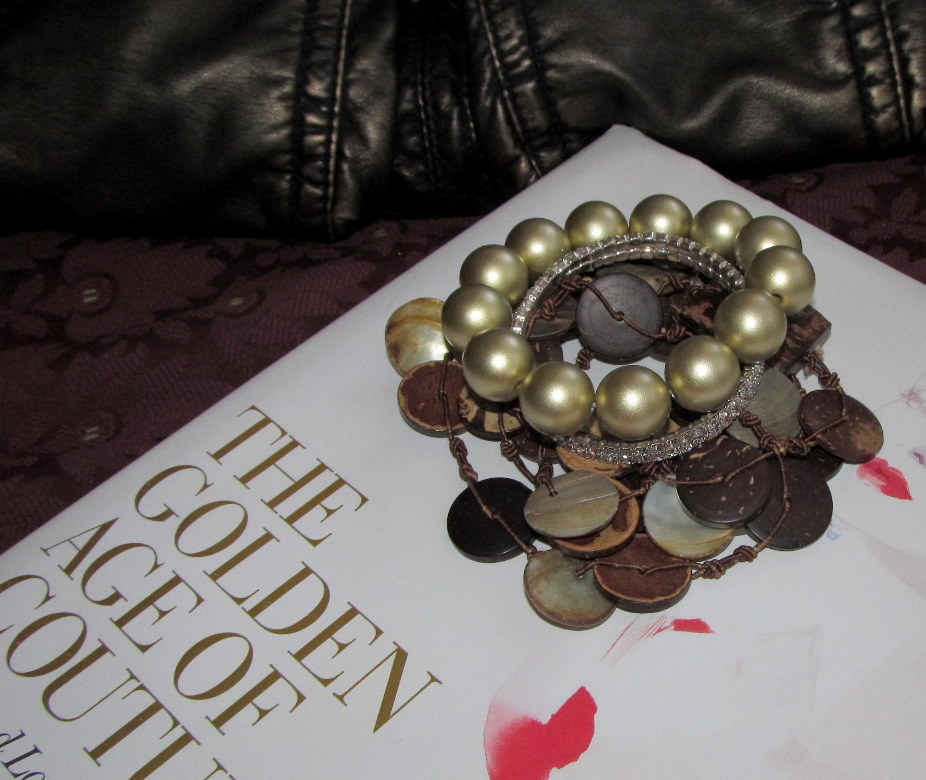
| Bracelets |
Monday, January 3, 2011
Project Re-Style #1
I Have Posted this on The Shabby Nest for Frugal Friday. Post your Frugal crafts HERE and join in on the Fun.
![]() |
| Before |
![]() |
| AFTER |
![]() |
| Start with an old Sweater. I have had this for about 4 years. |
![]() |
| Carefully cut the sleeves off. If you cut after the two pieces meet, it looks neater. |
![]() |
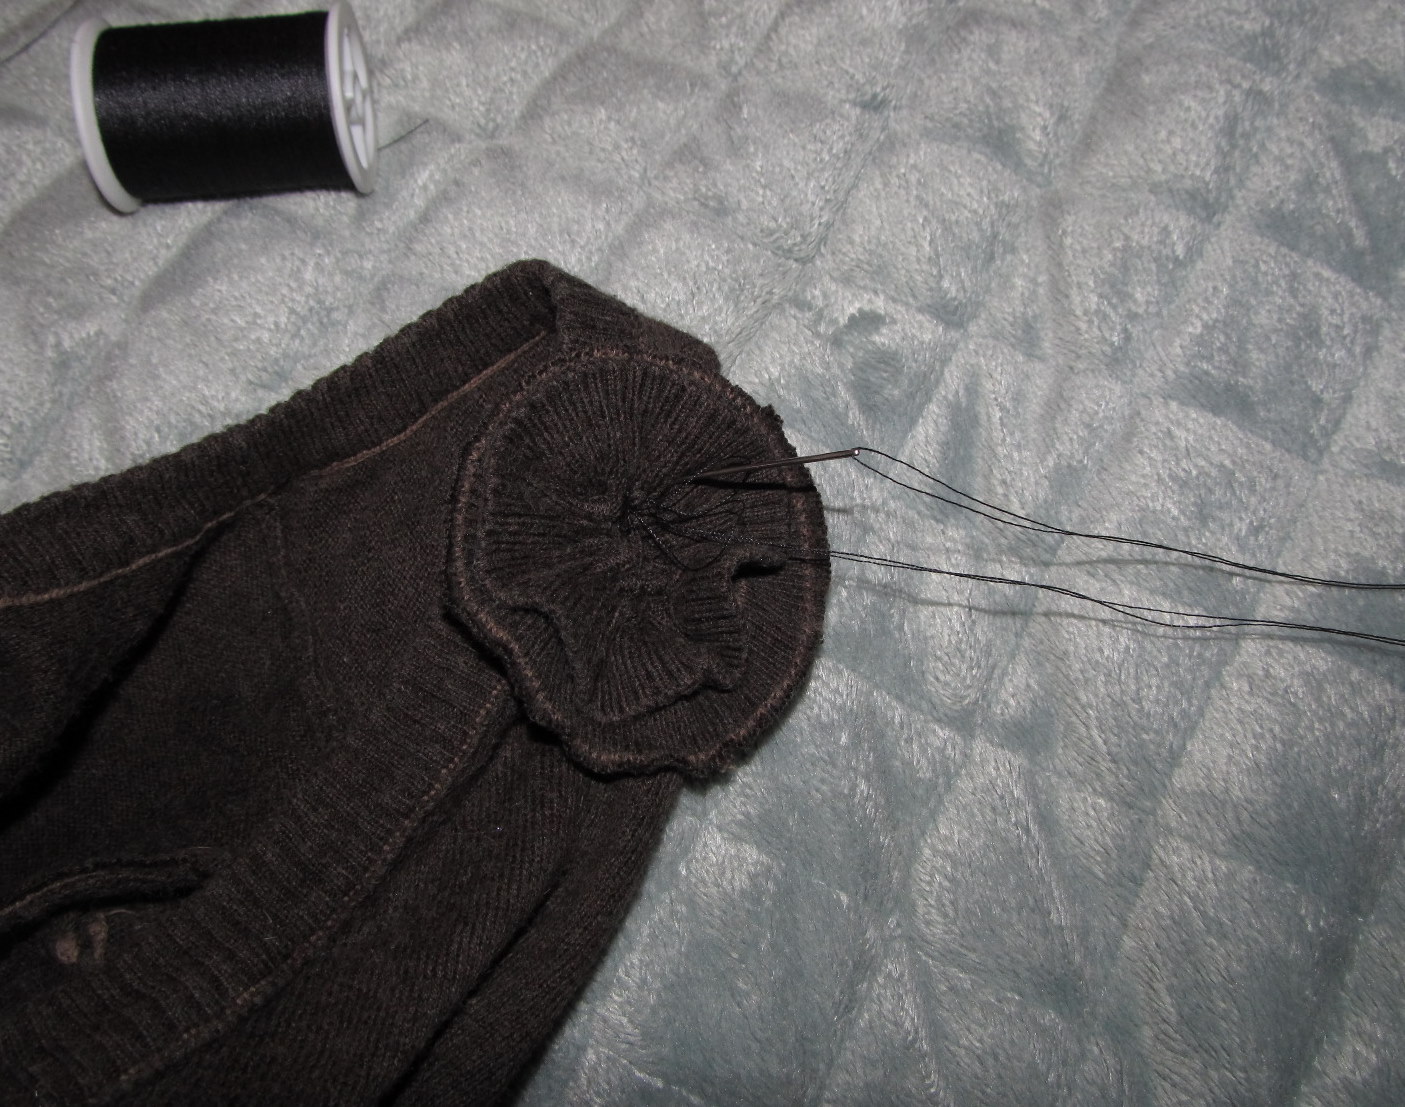
| I cut the ends of the sleeves off to make the flowers. |
![]() |
| I folded each sleeve cap different to make two different flowers. |
![]() |
| One was sewn on the fold. |
![]() |
| the other I flipped and sewed it on the other side. |
![]() |
| One makes a double flower, one a single flower |
![]() |
| Sew to sweater, anywhere you like. |
![]() |
| You could add as many flowers as you like. I like the look of two flowers. |
![]() |
| I found two neutral buttons. |
![]() |
| And sewed them in as the flowers center. |
![]() |
| All Done and SOOOOOOOOO Easy. |
| Yeah! A new sweater vest for FREE to add to my wardrobe. |
1 Down 51 to go.